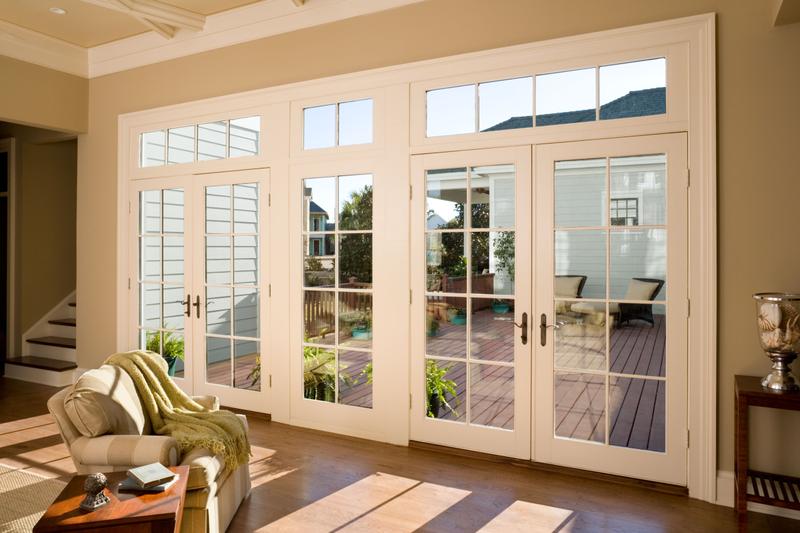
If you have recently moved into a new home and would like to replace one or more of the doors and door frames, this guide will help you remove the old and learn how to frame a door opening. While you do have choices in new doors and frames, you won’t get to decide whether old doorways will require a great deal of work before they’re ready for them. That said, once you’ve gotten through hanging your first frame and door, you’ll find the rest to be simpler — most of the time!
To begin, decide which way a door will open if it’s not a mere matter of layout already. If you have a unique existing door but want a DIY option for a frame without a pre-hung door installed, the following steps will help.
You will need a utility knife, crowbar, putty knife, measuring tape, circular saw, hammer, pencil, wood glue, finish nails, and paint of your choice.
Step 1: Preparing the Old Door Opening for the New Door Frame
The entryway in need of a new door frame will need some TLC before you can install a new pre-hung door and frame in the opening. To get the area cleaned up, cut away old caulking, paint, and drywall as needed with your utility knife. Before you tear away any portions of the old door frame, measure it and make note of the height, width, and depth of the opening to refer to when adding the new frame and casing.
Step 2: Remove the Existing Door Frame
Carefully use the crowbar to pry away the old frame one side at a time until all sides and edges are loose. If you find the sides of the frame to still be difficult or stuck after prying, consider using a handsaw to cut it into removable portions that will be easier to remove. Clear away all debris with a broom or brush before you begin adding any shims or making other preparations for the incoming door frame.
Step 3: Creating Your New Door Frame
If you have a standalone door (as opposed to a pre-hung door in a frame) knowing how to frame a door opening for unique individual doors is essential. For this you will need frame wood — trying to match the wood your door is made of is a good idea, but not required. Framing wood and door casing made from alder, Douglas fir, oak, pine, cedar, or maple are easy to find at most local hardware stores. Cut sides, lintel (top support of the frame), and threshold (bottom of the frame) out of the frame wood of your choice using the measurements taken in step 1.
Step 4: Attaching the New Door Frame
Using the hammer and finishing nails, begin to nail the sections of the door frame to the wall beginning with the side and followed by the lintel and then threshold. Once you have nailed in all these pieces and ensured everything is in the right place, complete this portion of the job by covering the nail holed with wood putty.
Step 5: Creating the New Casing
With your frame in place, you can now create the casing for the door. Measure the inside top and bottom and sides of the frame and cut pieces of casing wood to these measurements, creating 45° degree angles on the sides of all pieces with your circular saw. Attach casing pieces in the same order you attached the frame pieces, and again, hammer in nails and cover nail holes with wood putty.
With your casing complete, you’re ready to hang your door up in the new frame. Now that you know how to frame a door opening you can do it across other parts of the home you’re restoring — practice makes perfect!
Posted in Home By
ETO Doors