Installing new doors in your home delivers several benefits. First, improved designs and construction methods have produced doors that do a better job of saving homeowners money on energy bills. Thicker cores and less space for openings mean less room for cold air to enter a room. Second, more durable materials such as steel and fiberglass enhance the security provided by exterior doors. Third, installing doors represents a home improvement project that increases the value of your home. Just an improvement in aesthetics can give your home a boost in value. Finally, installing new doors helps you match the new decor of the interior of your home with the design of both interior and exterior doors.
The installation of new doors is considered one of the more intimidating home improvement projects. It’s a simple project but the DIY home installer often encounters some challenges. That’s why we’ve compiled these specific tips from the pros. To help you complete the home improvement project with less headaches and gorgeous, straight hanging doors.
Organize Tool and Materials
Installing one or more doors requires a bit of strength, particularly if you do not plan to install a pre-hung door. This means you cannot afford to search for tools and materials in the middle of the home improvement project. If you decide to get help installing a door, you can have your partner hold on to a soon-to-be installed door while you search for tools and materials, but the time you waste is not worth the effort.
Before you start your door installation project, write down every tool and material you expect to use during the project. Then, organize every tool and material to ensure a smooth journey from start to finish. Some of the most common tools and materials used during door installation projects include a level, pencil, and screwdriver, as well as hinges and spare wood.
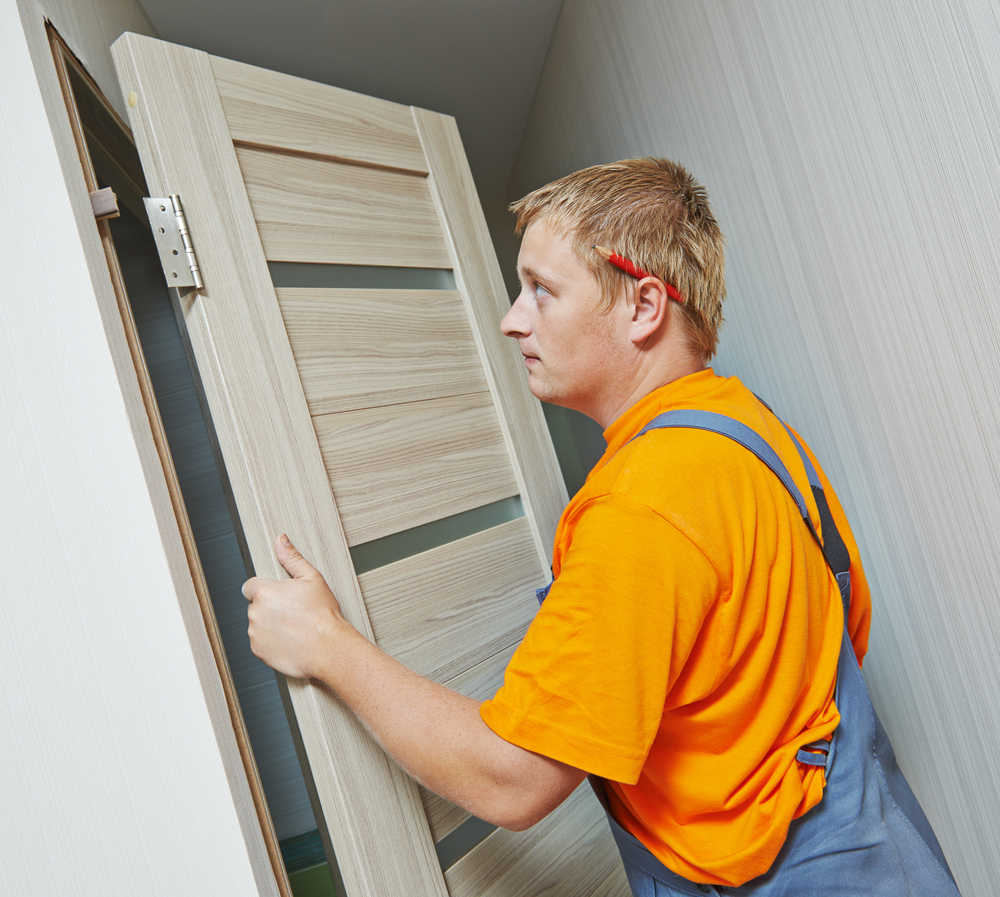
Removing the Old Door
You can remove an old door either before you prepare the new door for installation or after the new door is ready to go. Remove the door hinge pins first, and then remove all the hardware such as nails, screws, and hinges. If you detect the remnants of nails or screws, use a reciprocating saw between the wall and door frame to extract the troublesome nails and screws. When the time comes to pop the door frame out, you should gently tap around the perimeter to prevent damaging the area around the door frame. You can make the job easier if you cut the door frame into small chunks, but this process takes you more time than simply using a mallet and gently tapping around the perimeter of the door frame.
Attach Hardware Before Installation
When you go with the pre-hung door option, most if not all of the hardware is already attached to save you time. However, you might find a great deal on one or more simple doors, which means you have to attach the hardware before you remove the old door and cut an area for a new doorway. If you plan to paint or stain the new door, you must attach the hardware before enhancing its appearance.
The hardware you need to attach to the new door includes locks, hinges, and door handles. If you plan to attach an accessory to the new door such as a peephole for an exterior door, you should complete the task before starting the next step of the door installation process.
Ensure a Level Floor
Do not assume the floor under the new door you plan to install is level. Years of constant pounding and exposure to humid conditions can cause a floor to warp slightly. Leveling an uneven floor helps you hang the new door straight. If one side of the new door drags along the floor, you can significantly damage both the floor and the new door.
Place a level over different areas of the floor where you plan to install the new door. If the floor is not level, you can cut off the bottom of one jamb to hang the door evenly or gently hand sand the floor to create a level plane. Hand sanding works best on wood floors.
Temporarily Support the Door Jambs
At some point, you must test-fit the new door and frame in the opening. If you plan to work by yourself, this can be difficult to do because of the weight of the door and frame. By adding temporary blocks along the door jambs, you make it easier to test-fit and eventually, install the new door. The blocks that you cut should measure between four and five inches long, as well as about one-half of an inch wide. Nail two blocks on the hinge side of the jamb and three blocks on the latch side of the jamb.
The Bottom Line
Installing a new door is not a major home improvement project that takes days to complete. However, precision is the key to pulling off a successful door installation project. To make precision a reality, take your time when you measure things like a door opening to ensure optimal accuracy.