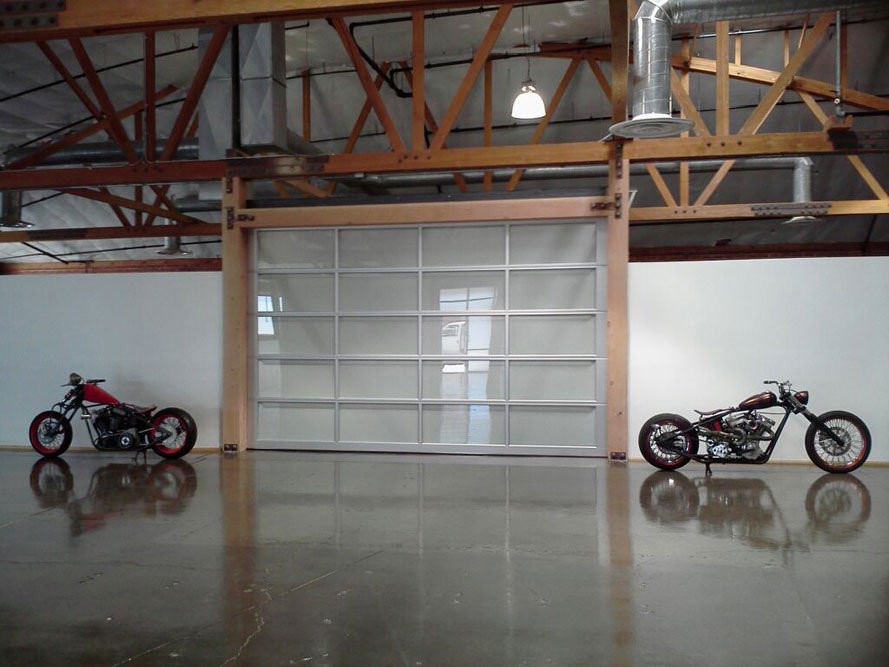
Installing a new garage door is a rewarding process, especially if you’ve been staring at the same old garage for years and you’re ready for an upgrade to add a fresh exterior look. When learning how to install a garage door, it’s important you understand how to remove old doors so no one gets hurt — because it may not be in good repair, please take precautions for your safety, including hardhat, safety glasses, and gloves.
Remove Old Garage Doors Using Directions from Manufacturers
They’ll walk you through the process with the phone on speaker, or you can take notes for someone to read as you execute. Removing old garage doors is easy. Simply remove from pulley system in one shot. Next, remove tracks from each old door panel (you’ll need these for the new door unless you got new tracks). Remove tracks with a Phillips head screwdriver.
Pointer: take tracks off each old panel one at a time in order, so the (now unhinged) door won’t fall on anyone. Once complete, you’re ready for your first education in how to install a garage door!
Installing Your New Garage Door: Measure, Measure, Measure!
Before you buy a new garage door, measure everything: the opening where the new door will go from the mouth of the opening to the ceiling, and the height and breadth for the installation (inside the jambs or molding). Few people think of it, but you also need to measure the length of the garage from back to front (as in the length of the space where the car(s) are parked). This is critical: if the garage door you order is too long, it will jam up, potentially get destroyed by running into the back wall, and could cause an accident. Be sure to write down precise measurements of each down to the sixteenth of an inch if possible. Before ordering or installing anything, make sure there’s one foot of space overhead beyond the mere length/height of the door you picked, as well as one-and-a-half feet (or more) so there’s (literally) no room for any problems.
How to Install a Garage Door: All the Little Extras — and There Are a Lot When Doing It Right!
Next, you’re going to assemble the different parts of the tracks, both horizontal and vertical — this is not the place to wing it — be sure to follow the directions from the manufacturer to the letter!
When it comes to installing a garage door, don’t forget the critical step of adding weather-stripping to the bottom of the new garage door (bottom of the bottom panel only). This will keep your garage warmer — and also keep out vermin looking for a warm place to shack up during cold winter months!
After completing the tracks, install the rollers that feed into the tracks, which will move the garage door up and down. Next, mount the wall jambs where the garage door will be installed.
Important: When installing brackets onto jambs, feed sections of the door (now in tracks) into brackets on left and right sides, one section at a time (for example, don’t install all sections on the left side, then move to install on the right side. Go section-by-section, not side-by-side). Once this portion of the DIY garage door installation is complete, it’s time to mount tracks (with sections of garage door slid into place) onto framing members with jamb brackets.
Brackets are responsible for holding tracks in place, so be sure you install evenly. Use screws and screw anchors for the strongest possible hold. However, before tightening jamb brackets entirely, ensure the whole door fits within the frame and the tracks. If everything fits, rolls, and there are no weird, empty spaces between the garage door leaking a view to the outside, go ahead and tighten up! Voila — you’re ready to teach friends and neighbors how to install a garage door!
Posted in Home By


