Knowing how to install a door casing is an important DIY life hack that will keep you from having to hire a handyman or other professional to do it for you. Installing casing should not be done until the doorframe has been completely installed, shimmed, and you’ve ensured the door itself moves smoothly and freely without catching anywhere within the frame. Once all of this is squared away, you can begin to install your door casing.
Picking the casing that works for your entryway
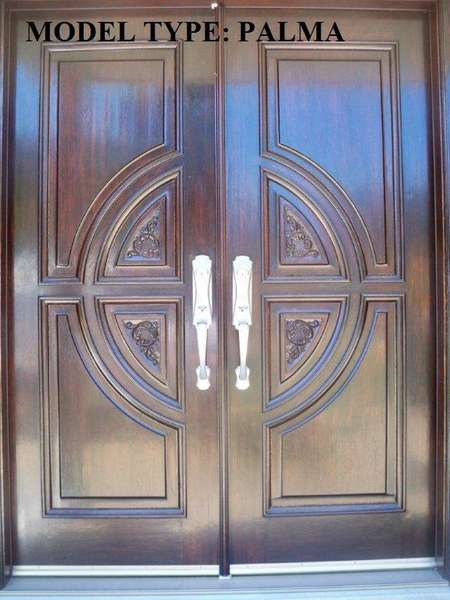
When you review your options for door casing, you’ll find there are literally thousands of options in colors, wood types, fiberglass, and even metal. In most situations, a wood door casing is what you need, and what will best match your new (or existing) door and doorframe. Pick a door casing with the same finish that is made from the same kind of wood as the door and frame if you can. That is unless you’re going for a two-tone look: in this instance, pick outdoor casing that will really frame the entryway well, giving it a nice, clearly defined border. Regardless of which casing you choose in terms of color or finish, doing the best you can to match the wood type to the door and frame will serve you best.
Installing door casing
To make sure your door casing fits exactly as it should around your door frame and covers all shims and other hardware you don’t want to be seen, you need to measure the perimeter of the outside of the door frame. Keep in mind that you will be cutting your door casing strips at 45-degree angles: this makes them meet up at the corners of the frame in a perfectly flush manner.
Once you have made your measurements for the top and both sides of the doorframe, you’re ready to start cutting door casing strips. A radial saw works best for this, as you can adjust it perfectly to the angle you want, which in this case is 45 degrees for both edges of the top casing and only the top casing strips for the casing that will go on either side of the doorframe. The bottoms of the door casing strips for the sides of the frame should be straight, as these must be flush with the floor, not with any other pieces of the door casing.
Apply door casing beginning with the top strip first. To ensure it is level, attach a hands-free level to the top of the casing strip, wait for the bubble in the level to center, and begin nailing in the casing into the wall above the doorframe using long finishing nails. Now you’re ready to gently hammer in the casing for each side of the doorframe. Make sure the 45-degree angles meet up perfectly with one another before you begin applying finishing nails.
Now your door and frame are genuinely and completely installed, and should look great with brand new door casing—and best of all, you did it yourself!