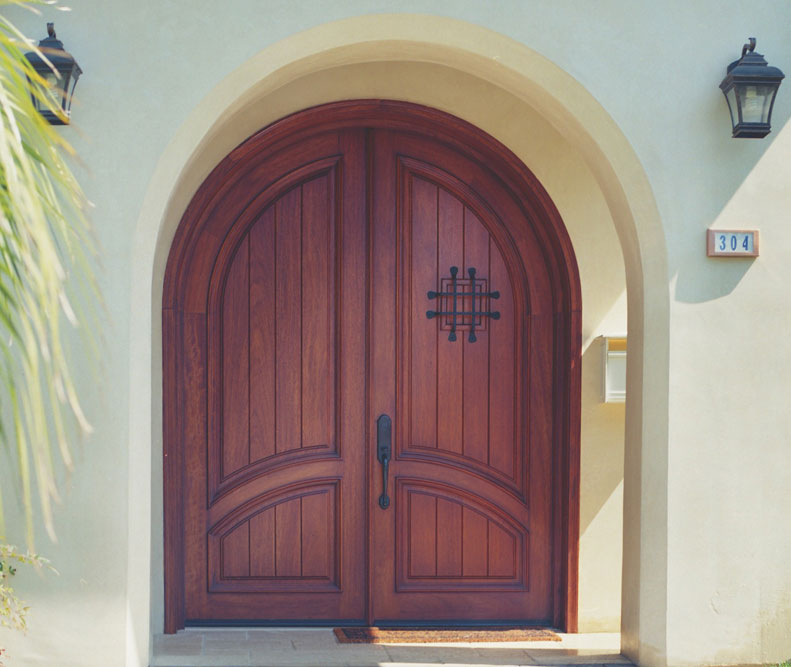
Deciding to paint, stain, or repaint an existing door can be one of those decisions we put off month after month for fear it will be too daunting, too expensive, or simply too time-consuming. The truth is, with a few helpful hints about how to get started and how to stay on track, painting both interior and exterior doors can actually be a fun DIY project. And, once you know how to do it, painting doors can become a fun weekend project the next time.
Door Removal and Preparation for Painting
The very first step in preparing a door for painting is to remove it from its frame. To do this, simply use a medium-sized flathead screwdriver as a wedge to loosen door hinge pins from the hinges themselves. Once they are loose enough and raised up enough from the hinge body, you should be able to wiggle them out manually. As you remove the second and third hinges, be careful, and enlist the help of a buddy to help steady the door so it does not fall out of the doorframe once it’s entirely hinge-free.
After the door is off its hinges, transport it to two sawhorses in your garage, shop, or driveway. Once the door is stabilized on the sawhorses, the next step is to remove the doorknob assembly, the latch plate, and any other hardware on the door so that it doesn’t get any paint on it. If your door is embellished with hardware, wrought iron, or lites that cannot be removed, cover these with painter’s tape entirely to protect them.
Before You Bring in the New
It would be much simpler to just paint right over the old, existing paint on our doors, but when you paint over old, tattered, worn out paint, the new paintjob suffers, looks unattractive, and doesn’t have the undercoat of new primer it needs. For this reason, you’ll need to use a belt sander (along with safety goggles and a safety mask) with medium-grit sandpaper to begin working away from the old coat of paint. You’ll continue to sand, graduating up to a finer grade paper, such as 340-grit, until the entire surface of the door on both sides feels equally smooth.
Primer and Paint-Ready
Your door is now ready to be primed and painted. To prime your door, use a large paintbrush to apply broad, vertical strokes from the door’s top to bottom, as well as its side edges, and the edges at the door’s top and bottom. Before you apply primer to the side of the door facing the ground on the sawhorses, wait for the primer on the top side to dry—this should take anywhere from 30 to 60 minutes in nearly all cases. Once you have applied primer to the entire door and have waited the appropriate amount of time for it to dry, you can begin to apply your paint. It is essential that you stir the paint in the can thoroughly before applying it to your door.
To apply your paint to a flush door (completely flat), you may use a single, small roller, rolling vertically from top to bottom. If you’re painting a door with panels (or lites that you have covered with painter’s tape), then you’ll need to use a medium-sized brush to paint the areas around the panels vertically from top to bottom. Next, you will use a smaller brush to carefully apply paint to the wood panel portions of the door.
As you paint the door, use the same method you used when applying the primer: wait for the top side to dry entirely before turning the door over on the sawhorse to paint the other side. Paint takes longer to dry than a primer. The length of drying time depends on the type of paint, the brand, and other factors. Be sure to ask your hardware store’s paint expert exactly how long the paint you’ve selected will take to dry on a wood door.